Methodology
The Blueprint Methodology: From Idea to Validated Plan in 2 Weeks
Every successful product starts the same way: with clarity. Not features. Not code. Clarity.
Blueprint is our two-week validation sprint that answers the questions most teams skip: Is this problem worth solving? Will users pay for our solution? What should we build first?
Skip Blueprint, and you’re building on assumptions. Complete Blueprint, and you’re building on evidence.
This guide explains exactly how Blueprint works, what you get at the end, and why we insist on it before touching a keyboard.
What Is Blueprint?
Blueprint is the first phase of our 2B2G framework—a structured two-week sprint that validates your product idea before development begins.
Think of it as due diligence for product development. Before you invest months of build time, Blueprint gives you:
- Evidence that the problem exists and matters
- Clarity on what to build and why
- Confidence in your go/no-go decision
By the end of two weeks, you know whether to proceed, pivot, or stop—before spending serious money.
The Core Principle
Blueprint operates on one principle: test assumptions before you build on them.
Every product idea contains assumptions:
- Users have this problem
- They’ll pay $X to solve it
- This feature is essential
- This channel will reach them
Most teams treat assumptions as facts. Blueprint treats them as hypotheses—and tests the riskiest ones before committing resources.
Why Blueprint Exists
We built Blueprint after watching too many products fail for preventable reasons.
The Pattern We Kept Seeing
A team would come to us with an idea. They’d already written a PRD, designed wireframes, planned a roadmap. They were ready to build.
Six months later, the product would launch. Users would trickle in. Engagement would be low. The team would start adding features, hoping something would stick.
A year later, the product would quietly shut down—or limp along as a “zombie product” that nobody wanted to kill.
The Root Cause
In almost every case, the root cause was the same: they built the wrong thing.
Not badly built. Not poorly designed. Just… wrong. Wrong features. Wrong positioning. Wrong audience. Wrong problem.
They’d spent months building before learning what users actually wanted.
The Blueprint Solution
Blueprint compresses that learning into two weeks—before any significant build investment.
Instead of learning through expensive failure, you learn through cheap experimentation. Instead of discovering user needs after launch, you discover them before writing code.
The result: fewer products that fail, more products that find traction.
The 2-Week Blueprint Process
Blueprint follows a structured process across two weeks. Here’s the day-by-day breakdown.
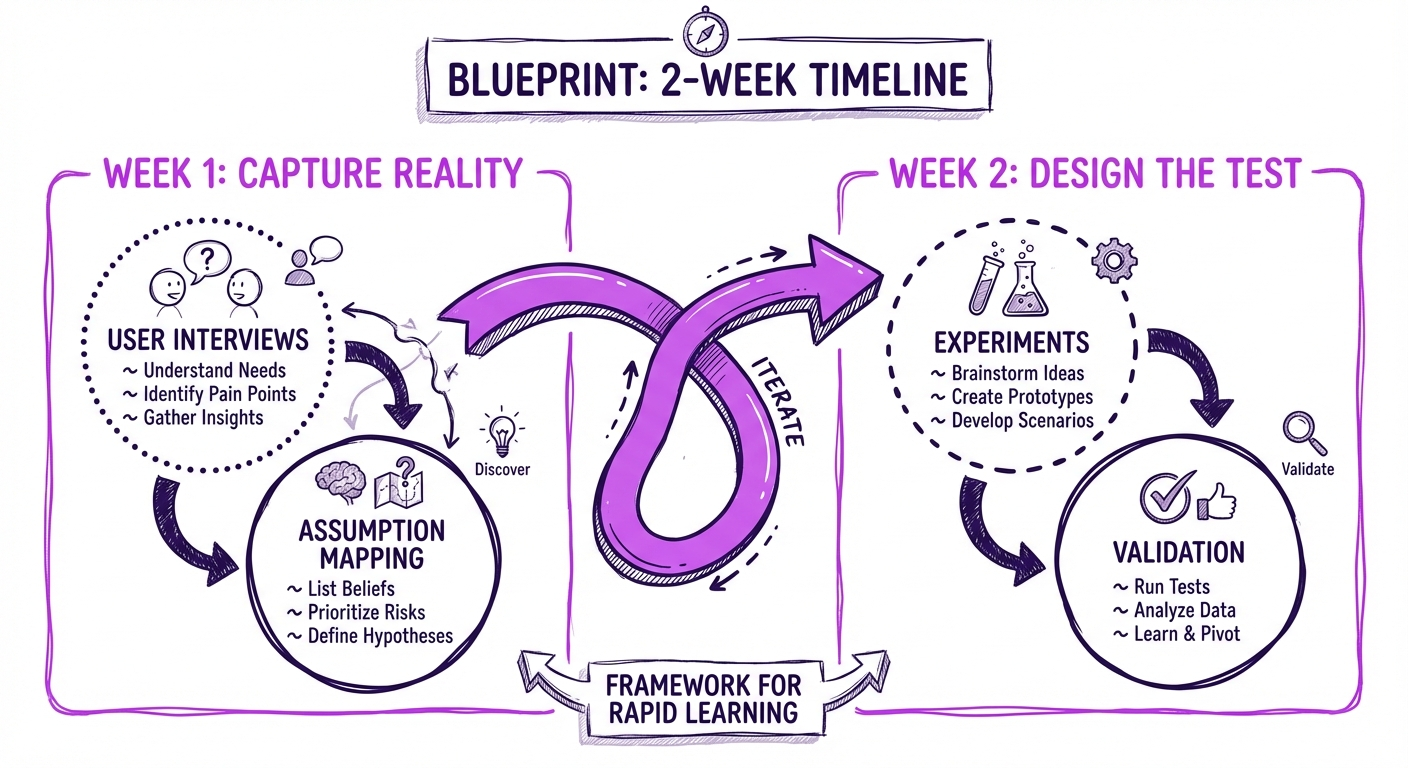
Week 1: Capture Reality
The first week is about understanding—gathering information, mapping assumptions, and identifying what needs validation.
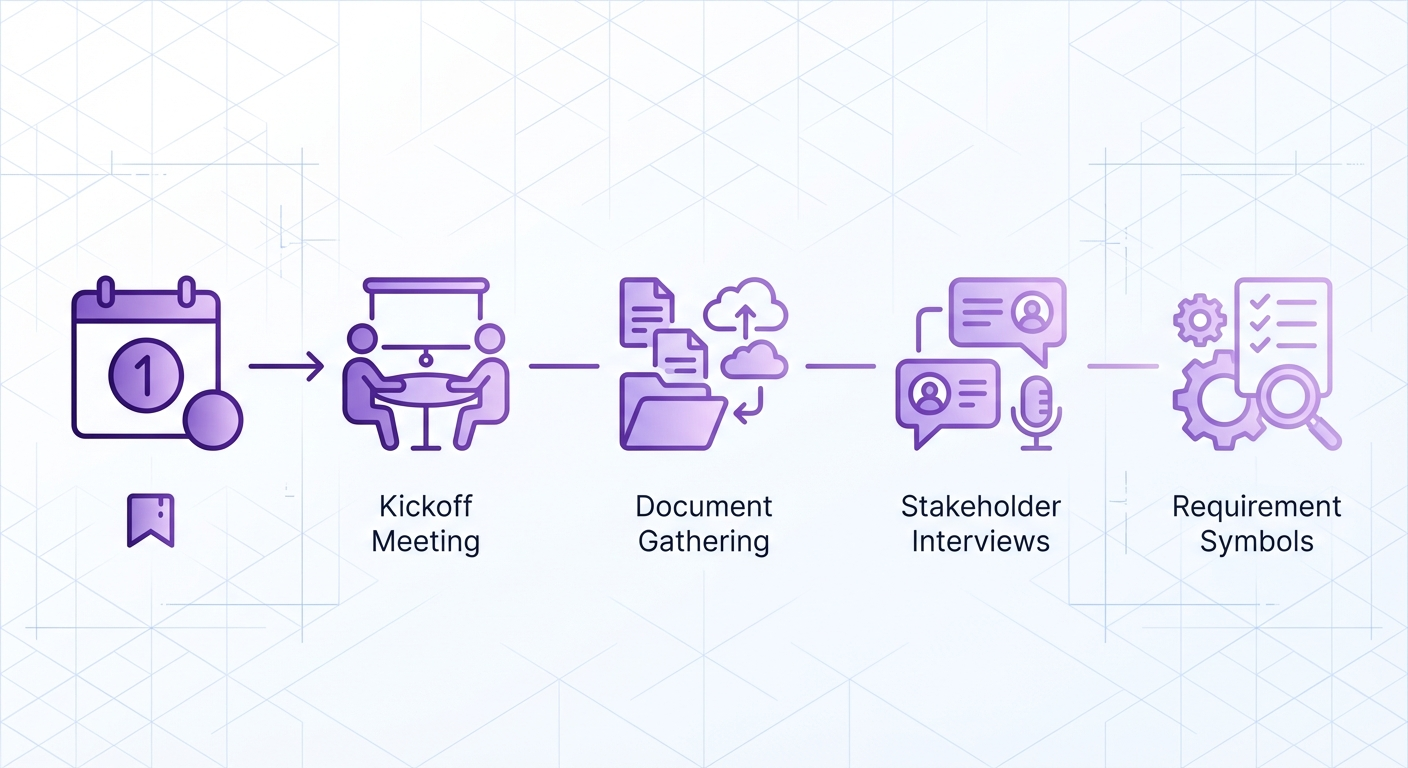
Days 1-2: Kickoff and Stakeholder Alignment
We start by getting everyone on the same page:
- Interview key stakeholders (founders, executives, product managers)
- Document the vision, goals, and constraints
- Map out existing assumptions about users, problems, and solutions
- Define what success looks like
Output: Stakeholder interview transcripts, assumption inventory, success criteria document.
Days 3-5: User Research
The most important part of Week 1:
- Conduct 8-12 user interviews (not surveys, not focus groups—1:1 interviews)
- Focus on behavior, not opinions: “Walk me through the last time you…”
- Document jobs-to-be-done, pain points, and workarounds
- Listen for emotion—frustration, complaints, hacks
Output: Interview recordings/transcripts, jobs-to-be-done framework, pain point hierarchy.
Days 6-7: Assumption Mapping and Prioritization
Now we get analytical:
- List every assumption the product depends on
- Score each by impact (how much does it matter?) and uncertainty (how sure are we?)
- Identify “killer assumptions”—the ones that must be true for the product to succeed
- Select 3-5 assumptions for Week 2 validation
Output: Prioritized assumption matrix, experiment design briefs.
Week 2: Design the Test
The second week is about validation—designing and running experiments to test your riskiest assumptions.
Days 8-9: Experiment Design
For each killer assumption, we design a test:
- What’s the hypothesis?
- What’s the minimum experiment that could disprove it?
- What data will we collect?
- What result would make us change course?
Types of experiments:
- Smoke tests: Landing pages that gauge interest
- Concierge tests: Manually deliver the value to see if users want it
- Prototype tests: Clickable mockups to test usability
- Pre-sales: Attempt to collect payment before building
Days 10-11: Build Test Assets
We create whatever’s needed to run the experiments:
- Landing pages with signup forms or payment buttons
- Clickable prototypes in Figma or similar
- Interview scripts for solution validation
- Ad creative for smoke tests
No production code. Just enough to learn.
Days 12-14: Run Validation Sprints
Now we execute:
- Run experiments with real users (not friends, not colleagues)
- Collect quantitative data (conversion rates, signup rates, payment attempts)
- Collect qualitative data (feedback, confusion points, suggestions)
- Synthesize results into clear recommendations
Output: Experiment results, user feedback summary, actionable recommendations.
Blueprint Deliverables
At the end of two weeks, you receive a comprehensive package:
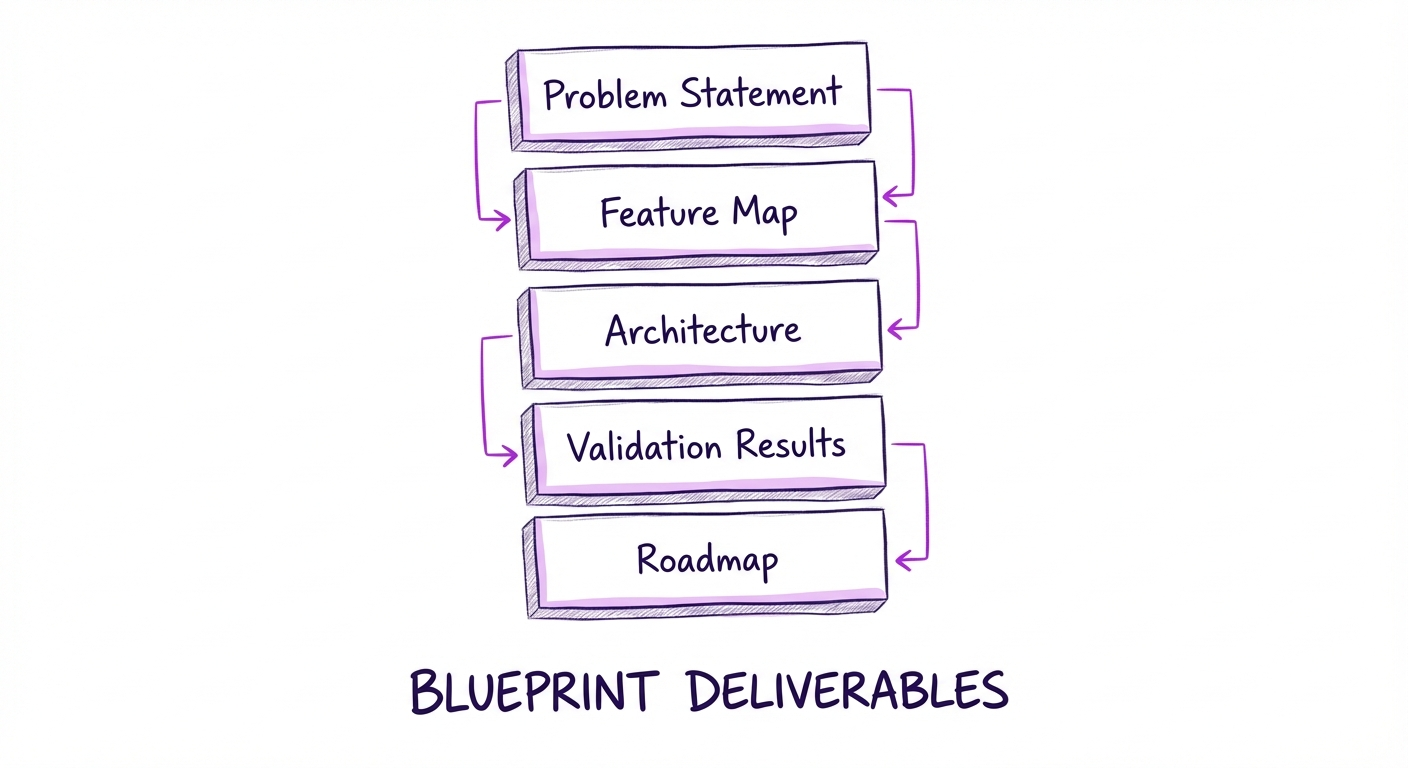
1. Validated Problem Statement
Not “we think users have this problem” but “we interviewed 12 users and 10 of them described this exact pain point.”
Includes:
- Primary user persona with supporting evidence
- Problem statement backed by interview quotes
- Pain point severity ranking
2. Prioritized Feature Map
A visual map of features organized by:
- Must-have: Validated as essential through user research
- Should-have: Important but not blocking
- Nice-to-have: Low priority or unvalidated
- Out of scope: Explicitly not included
Each feature links back to the user need it addresses.
3. Technical Architecture Sketch
A high-level technical design including:
- System components and how they interact
- Key technology choices with rationale
- Data flow diagrams
- Integration requirements
- Scaling considerations
This isn’t detailed specs—it’s enough to estimate and plan.
4. Validation Results
Raw data and analysis from Week 2 experiments:
- What we tested
- What we learned
- What it means for the product
Includes specific recommendations: proceed, pivot, or stop.
5. 60-Day Roadmap
A detailed plan for the next phase:
- Sprint-by-sprint breakdown
- Feature priorities per sprint
- Key milestones and success metrics
- Resource requirements
- Risk factors and mitigation
This becomes the input for the Build & Benchmark phase.
Who Needs Blueprint
Blueprint is designed for three scenarios:
1. New Product Ideas
You have an idea but haven’t validated it yet. Blueprint tells you whether to pursue it—before you invest heavily.
Best for:
- Founders with a concept
- Innovation teams exploring new directions
- Enterprises launching new business lines
2. Struggling Products
You’ve built something, but it’s not gaining traction. Blueprint diagnoses why and identifies the path forward.
Best for:
- Products with low engagement
- High churn situations
- “Zombie products” that need direction
3. Major Pivots
You’re considering a significant change to your product or strategy. Blueprint validates the new direction before you commit.
Best for:
- Post-funding direction changes
- Market changes requiring adaptation
- Competitive pressure demanding response
Blueprint vs. Traditional Discovery
How does Blueprint compare to typical product discovery processes?
| Aspect | Traditional Discovery | Blueprint |
|---|---|---|
| Duration | 4-12 weeks | 2 weeks |
| Output | Documentation | Validated decisions |
| User involvement | Surveys, focus groups | 1:1 interviews, experiments |
| Assumption handling | Implicit | Explicit and tested |
| Decision point | After documentation | Built into process |
| Cost | $15K-50K+ | $3K-5K |
The Key Difference
Traditional discovery creates documents. Blueprint creates decisions.
At the end of traditional discovery, you have a PRD, wireframes, and a roadmap—but you still don’t know if users want what you’re building.
At the end of Blueprint, you have evidence. You know which assumptions held up and which didn’t. You can make an informed go/no-go decision.
FAQ
What if Blueprint reveals our idea won’t work?
That’s a success, not a failure. Learning your idea won’t work in 2 weeks beats learning it in 6 months after spending $200K. Blueprint might reveal a needed pivot, a different target audience, or a better feature focus. The goal isn’t to validate your exact idea—it’s to find the path to a successful product.
Can we do Blueprint ourselves?
You can apply Blueprint principles internally, but external facilitation adds value:
- Objectivity (we don’t have politics or attachment to specific outcomes)
- Experience (we’ve done this hundreds of times)
- Focus (your team can keep running the business)
That said, the frameworks are available if you want to try internally first.
What happens after Blueprint?
Blueprint feeds directly into our Build & Benchmark phase—a 6-week process where we build a validated MVP, launch it with real marketing budget, and iterate based on user feedback. By the end of 8 weeks total, you have a product in market with real traction data.
How much does Blueprint cost?
Blueprint is priced at $3,000-5,000 depending on complexity. Compare that to the cost of building the wrong product ($50K-500K+) and it’s obvious insurance. We’ve never had a client regret the Blueprint investment—only clients who wished they’d done it sooner.
What if we already know what to build?
If you already know, Blueprint will confirm it—and give you the evidence to convince stakeholders. If you’re wrong, Blueprint will reveal it before you build. Either way, you’re better off. Confidence without evidence is just optimism.
Get Started
Blueprint is the foundation of our 2B2G framework. It’s how we ensure every product we build has a fighting chance.
Here’s how to start:
- Book a discovery call — 30 minutes to understand your situation
- Receive a Blueprint proposal — scope, timeline, and pricing
- Kick off Week 1 — stakeholder interviews and user research begin
- Complete Week 2 — validation experiments and synthesis
- Receive deliverables — validated plan and go/no-go recommendation
Two weeks. One decision. Zero wasted build time.
Ready to validate your idea? Book a discovery call and let’s talk about whether Blueprint is right for you.
Related Posts
Need help putting this into practice?
Book a Blueprint session and we'll turn the ideas in this article into your next validated release.
Book a Discovery Call